Best Practices

Five tips for making the transformation from graphic designer to digital marketer

You’re a graphic designer, and want to be a digital marketing pro. This entails a transition from traditional marketing to digital marketing. I know, because I mastered the move through exploration, research, and course work.

Moving from analog to digital requires thought and planning

I did not just wake up one day, and poof—I was a digital marketing pro!

Moving from traditional print marketing to digital marketing took significant thought and planning. I had done traditional marketing communications in past job positions and was self-taught in certain aspects of digital marketing when I founded a management consulting firm more than twenty years ago. I knew how to use several Adobe creative apps and learned enough HTML/CSS to manage my Website.

At some point, I knew that I needed more formal training and found a course of study that would take me where I wanted to go. This led to a degree in graphic design. After applying what I learned through formal course work, I continued to explore new technologies and apps to provide digital marketing services.

Five tips for making the transformation from graphic designer to digital marketer

  1. First, decide on the digital marketing services you will provide—social media marketing, content design, web design, web development, web analytics, user interface/user experience (UI/UX) design, advertising, analytics, and more.
  2. Assess your software, IT, business, sales, marketing, and people skills. Yes—whether you work for an employer or are a freelancer, you need to use “soft” people skills to identify clients’ needs and provide the appropriate digital marketing solution.
  3. Network, network, network! Find local digital marketing firms and identify professional organizations. Speak with people in the digital marketing industry about the required skill sets and job opportunities. Find a mentor if you can.
  4. Make a plan to fill skills gaps between where you are currently, and where you want to go. This can entail classroom and/or online training, as well as formal and informal internships.
  5. Finally, work your plan. Acquire new skills. Learn new technologies and software apps. Build your digital portfolio to demonstrate your capabilities, and market to potential employers or clients.

Digital marketing examples

P is for Pterodactyl, sponsored Facebook post
Three cans of Speed Whiz Energy Drink, with Mango Blast, Kiwi Slush, and Berry Crush flavors.
Speed Whiz Energy Drink image for Google Ads
Grace Animal Rehabillitation Center, Instagram Post

Don't get left in the dust

Take your path to success in this exciting creative industry that hardly existed twenty years ago! You can become a digital marketer by shaping and working a thoughtful plan, through networking, and by developing a solid digital portfolio.

Digital marketing continues to morph, especially with Artificial Intelligence (AI), faster computers with more power and storage than ever, and continual changes to software and apps.  Don’t get left in the dust… keep on learning new things, and stay ahead of the competition!

Posted by JBG in Best Practices, Design, Education, Graphics, Guidelines, Marketing

Procreate Brushes Provide a Plethora of Graphic Design Possibilities

Procreate digital brushes and Apple Pencil are key tools

What is Procreate? This powerful $USD10 illustration-lettering-drawing app generates high-resolution, multilayered raster images. First made for the iPad Pro for creatives, (thus, “Procreate”), today the app works on any iPad that can pair with an Apple Pencil. I use a 13-inch iPad Air (2024 model).

In Procreate, you draw with a digital “brush.” Some brushes are strokes that mimic those of physical drawing and painting tools; others are “stamps” or shapes. Only Apple Pencil Generations 1 and 2 and Pencil Pro provide both tilt and pressure sensitivity for full stroke variability.

Procreate comes with 100+ brushes installed. If you need more (or are a “brush junkie”), you can tailor-make brushes or import ready-made free and paid brushes. You can find thousands of brushes with a little Internet sleuthing. Import brushes or brush sets via the Procreate brush panel.

I follow Procreate artists and graphic design blogs and often find new brushes. I purchase some and get others free. Here are a dozen of my favorite free and paid Procreate brush sites, in no special order:

Most all of these providers also offer free Procreate tutorials, color palettes, and more; Procreate Folio offers a discussion group and other resources, including a complete Procreate manual.

Watercolor drawing of hamburger on a red and white checkered tablecloth
Cafe Series, Hamburger | Procreate Watercolor and Pattern Brushes
Watercolor Cactus | Procreate inking and watercolor brushes

Procreate brush management tips

If you download everything that catches your eye, you will reach “Brush Overload.” So, consider these brush management tips to make it easier to use and find your Procreate brushes:

  1. Keep only the brushes you need active in your Brush Library. Experiment with new brushes you download; you will find lots you like and lots you don’t need.
  2. Keep your Brush Library organized; Export unused brush sets to your iCloud, Dropbox, Google Drive, or other file backup locations.
  3. Create a Favorites folder. Copy the brushes you use the most to that folder.
  4. Set a Brush Restore Point. Explore brush settings, but remember to back up settings before you change them.
  5. Make your own brushes and brush sets if you don’t find what you need in the marketplace. Export (Share) them for safekeeping so you can use them for another project.

I use Procreate almost daily in my design workflow; this little $USD10 app—now in its fifth generation—has amazing capabilities. Procreate provides a plethora of possibilities with an abundance of ready-made brushes and the ability to tailor-make your own. Experiment with different brushes, try different drawing styles, and find the ones that work the best for you. Keep your brushes organized, and copy your favorites to an easy-to-find folder.

Explore the possibilities, and happy drawing!

Posted by JBG in Art, Best Practices, Design, Graphics, Illustration

The top 15 branding, graphic design and web design blogs for inspiration in 2025

Design blogs provide creative inspiration, and more...

Most designers do not just wake up inspired each day; something they see or do gets their creative juices flowing. I often find inspiration in branding, graphic design and web design blogs.

These blogs are written by large companies and small; from giants in the design industry like Smashing Magazine and Creative Bloq to niche firms like TypeWolf. Some of these design blogs are general, while others are quite specific. 

If you don’t know where to look, here is Inkbot Design’s compilation of The 15 Best Graphic Design Blogs to Follow in 2025. The list includes several blogs I have followed for years, plus some new ones I am eager to try… if only there were more hours in the day!

Whether you work in a corporate setting, design firm, marketing agency, or freelance setting, graphic design and Web design blogs offer many benefits. These blogs can

  • provide creative inspiration;
  • help you to stay current on industry trends;
  • help you improve skills; and
  • provide valuable resources like tutorials, templates, and graphic & web design assets. 

"Remember, becoming a great designer isn't about knowing everything – it's about knowing where to find the answers."

Find a balance between finding inspiration and doing creative works

It is easy to subscribe to too many blogs, and to spend too much time reading, digesting and learning new things and/or getting way down the rabbit hole! The challenge is to achieve a balance between reading blogs and doing the work that you set out to do for in the first place. 

With this in mind, Inkbot Design provides a few guidelines to follow. Perhaps the most important is to limit yourself to reading only three blogs regularly. That sounds like too few, but you should focus on quality over quantity. Though these blogs are legit, remember to “fact check” what you read. If you see something that resonates, feel free to link to the blog post on your own blog, and give credit to the author. 

Read design blogs for new ideas, to keep up with industry trends, to find sources of design assets, and to up your creative and design skills. And remember to create something every day!
Posted by JBG in Best Practices, Branding, Design, Graphics, Guidelines, Logo Design, Typography, Web Design

Twelve Tips for Success as a Freelance Graphic Designer

You are creative, have a number of graphic design projects in your portfolio, and want to work for yourself. What does it take to become a freelance graphic designer, and a successful one?

Becoming a successful freelancer—in any field—requires thought and planning. Running a solo practice can be a challenge, but I think I can help. Here are twelve things I have learned in leading a solo practice for 20-some years.

1. Know your motivation

Are you motivated by the freedom to select clients and projects, focus on a distinct niche, do hybrid/remote work, lifestyle flexibility, or other reasons?

Are you willing to put in the effort? Can you balance work and life demands?

2. You need creative skills, and then some...

As a freelancer, you will be running a small business, whether you realize it or not. You need business, financial, marketing, and people skills—on top of graphic design talent and expertise.

You will be responsible for sales and marketing; proposal writing; invoicing and accounting—and graphic design work!
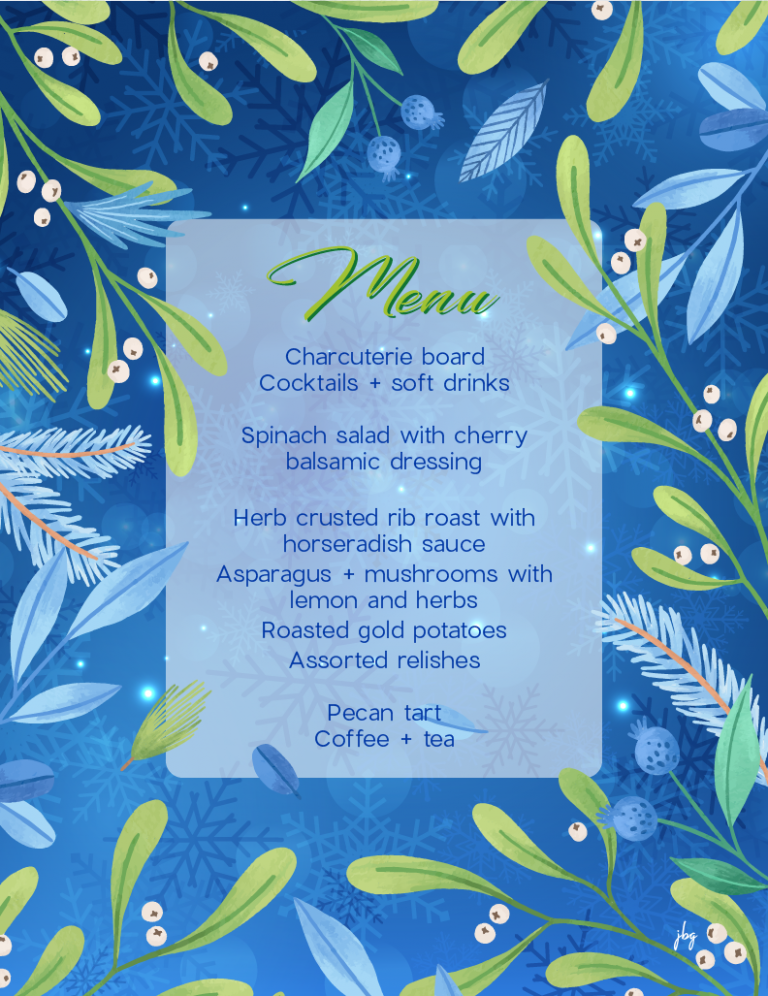
Holiday Menu | Layout and Typography by Jill B Gilbert, Graphic Designer and Amateur Chef

3. Freelancing is NOT a hobby

Treat freelance graphic design work as a business, not a hobby. Set up a studio or office where you you can work without distractions. Whether or not you work from home, have regular office hours—on your own schedule. Just make time to communicate with clients on their schedules.

4. Develop a business plan

Once you have a few clients and know what you’d like to do, make a simple business plan. This is especially important if you want to get a small business loan, apply for a grant, or obtain business credit. Have someone review your plan and provide feedback before you finalize the plan.

The plan gets you to think about what you really want to do. What is your vision? What type of projects do you prefer? Who is your target client base? What is your timeline? What is your budget, and how do you set rates for your services? What are your startup costs?

5. Save 6-12 months' expenses

It may take a while for the first client payments to arrive, and you may not have an even cash flow month-to-month. Save 6-12 months’ living expenses before you start. Maintain this reserve fund and add to it as often as you can. 

6. Know what you don't know

You’re not expected to be a Jack/Jill of All Trades, so know what you don’t know. Get legal and financial advice as needed to set up your business, provide standard graphic design contracts, and to plan routine cash flow and paying taxes. Develop relationships with legal and financial experts so you can call them for advice on a moment’s notice.

7. Be professional

Avoid cute business names, though it’s OK to be clever! Act like a professional. Dress appropriately. Have business cards available—yes, people still use business cards! Avoid acting too casual on sales calls or in client meetings. Be aware of post content in personal social media accounts. 

8. Network, network, network

Don’t underestimate the value of networking. Network to learn your market niche. Find local chapters of professional organizations for graphic design, and for specific niches like illustration, web and user interface design, advertising, package design. Consider attending local Chamber of Commerce, Rotary or similar meetings. All of these can teach you about business and can lead to new work.

8. Learn from others

Just because you are a freelancer, you need not isolate yourself. If you want to be a great illustrator, seek out role models, and get to know them and how they work. If you want to be package designer, then reach out to an expert in this field. You may find a mentor this way… I did! 

10. You are valuable

Your time and expertise are valuable. Do not work for free, or for bargain rates, to build your portfolio. Professional associations frown on this behavior, as it cheapens the graphic design profession. Clients who ask you to work at bargain rates likely do not value your services, and will not pay your full rates in the future.

11. Be a leader

Once you focus on your graphic design niche, become a leader in that area. Develop a terrific portfolio and put it online to reach a wide audience. Get client testimonials. Write a blog and spread the word. Use social media for marketing your graphic design services.

12. Keep on learning

Continuing education is critical in graphic design, especially with developments in technology. Keep your skills up to date with formal and informal training. I am a firm believer in lifelong learning.

Posted by JBG in Best Practices, Graphics

Multilingual graphic design matters

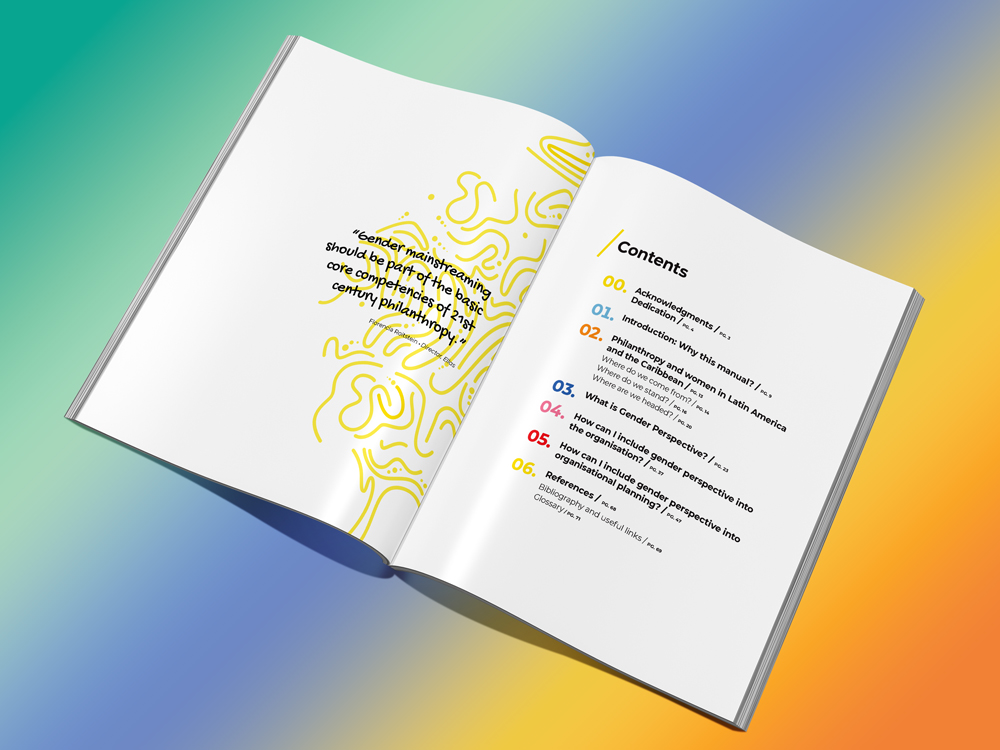
When asked to do a project for a repeat client, naturally, I said, “Yes!” My pro bono graphic design skills would allow my client–and the original author–to more widely distribute an important training manual. Welcome to multilingual graphic design!

Multilingual graphic design | English layout and translation of a Spanish training manual

The non-profit philanthropic organization in Melbourne, Australia came across an 80-page training manual written in Argentina and had it translated from Spanish into English. They wanted me to create the English manual with the same typesetting and layout as the Spanish version.


This introduced several challenges, also known as localization issues:

  • English sentences are shorter than Spanish sentences. This creates pages with less text and more “white space.”
  • Some typefaces/fonts are multilingual; others are not.
  • Graphic design and style naming conventions differ among languages.
  • The translation required the designer to recognize differences in spelling and word usage between Australian English and U.S. English.
  • The English translation required rewriting in a few areas to make the words sound more natural.
  • The original, Spanish manual looked good to those who are not trained in graphic design. Behind the scenes, the document needed to be set up with consistent typographic styles and colors.

Luckily, I have a working knowledge of Spanish and have written hundreds of English articles. I enjoy layout and typography. I was up to the challenge.

In this case, my mission was to make the English translation look like the original manual, published in Argentina. But what if my client originally envisioned a document that worked well in multiple languages?

Multilingual graphic design considers several localization issues:

  • Language differences—the translation and the use of common phrases.
  • Cultural differences—the use of acceptable images, colors and words.
  • Sentence length in different languages.
  • Languages that read from left to right vs. from right to left.
  • Multibyte languages with complex characters, e.g., Chinese, Japanese, and Korean.
  • Multilingual fonts—fonts that have all the characters, glyphs, and accent marks found in each language you want to use.
  • White space—embrace the use of white space when designing a document to be written in multiple languages; one line of text can look as elegant as two.

If you are not well-versed in multilingual graphic design, you can find a design firm that is. This was an enjoyable project with great results. My clients and the author of the original, Spanish training manual were pleased, and I learned a few new things as a bonus.

Posted by JBG in Best Practices, Consulting, Design, Graphics, Guidelines, Marketing, Typography

How we helped the Wisconsin Association of Free & Charitable Clinics upgrade their branding

The Wisconsin Association of Free & Charitable Clinics (WAFCC) is an advocate for the State’s ninety free & charitable clinics. The organization provides state advocacy, education opportunities, consulting services, and telehealth services to clinics. WAFCC fosters collaboration, networking, and resource-sharing. They selected Jill B Gilbert for two branding initiatives–brand guidelines and a custom presentation template consistent with these new guidelines. 

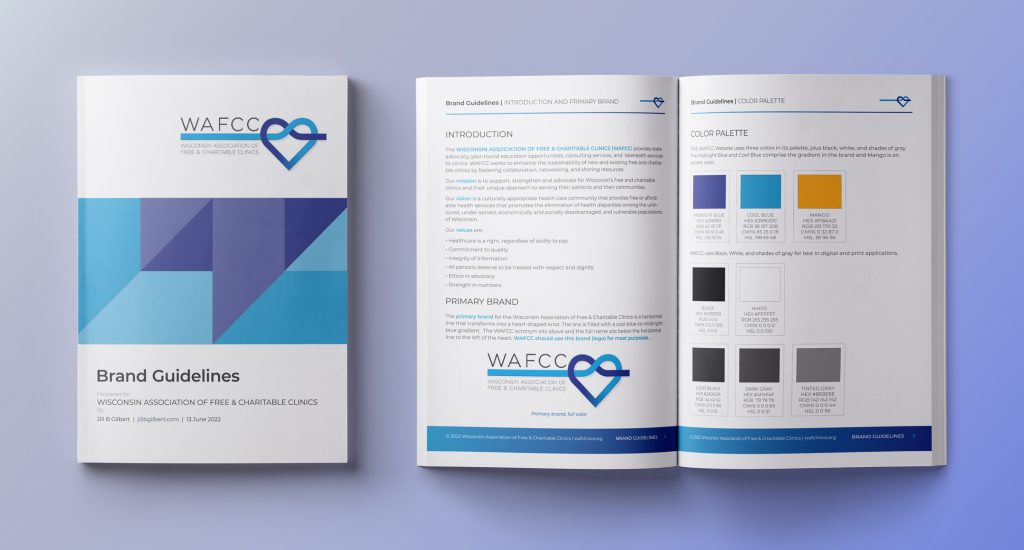
Brand Guidelines

Brand guidelines are the rules an organization–large or small–follows to ensure their brand is consistent across various digital and print communications.  These guidelines typically communicate the organization’s voice, style, logo, type, and colors. 

They show the accepted use of the logo, any color variations, and placement, including  very important “Do’s and Don’ts.” If an organization uses specific graphic styles, icons, or illustrations, the guidelines contain these, too.

Brand Guidelines are meant to be flexible, changing as the organization grows and changes. The WAFCC Brand Guidelines are a living document, soon to be updated with examples from the new slide presentation template. 

Wisconsin Association of Free & Charitable Clinics (WAFCC) Brand Guidelines Mockup
Brand Guidelines | Wisconsin Association of Free & Charitable Clinics
"I HIGHLY RECOMMEND ANYONE TO WORK WITH JILL. SHE HAS A WEALTH OF KNOWLEDGE, IS VERY KIND, RESPONSIVE, AND DID A WONDERFUL JOB ON OUR VISUAL BRAND GUIDE."​
Heather Ule
WAFCC

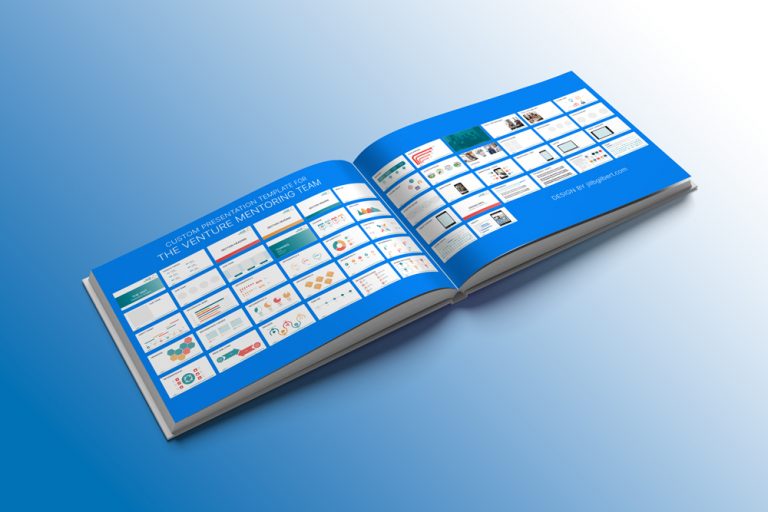
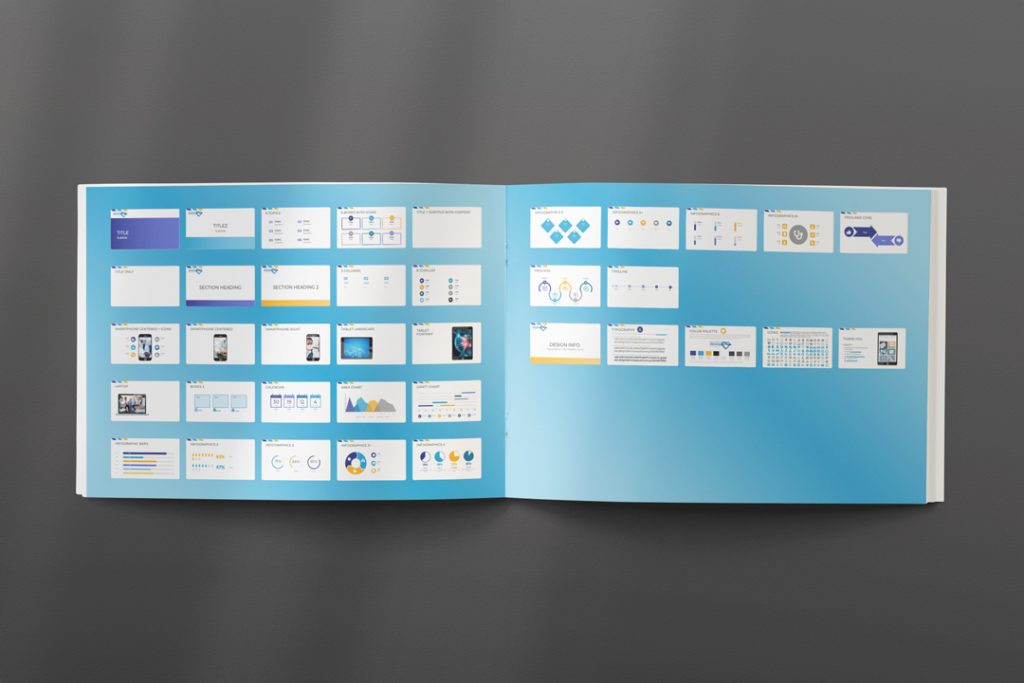
Presentation Template

The most common methods of communication are email,  PowerPoint (/Google Slides/Keynote/Other) presentations, and social media. 

Branding is important in slide presentations, because it sets the tone for your organization’s message. Consistent style and message are key!

Jill B Gilbert designed a template that was a great match for WAFCC’s message and style needs. 

"This was my second project with WAFCC. I enjoyed working with Heather and building a relationship. We plan to work together on more projects in the future."
Wisconsin Association of Free & Charitable Clinics Slide Presentation Template
Wisconsin Association of Free & Charitable Clinics | Presentation Template
Posted by JBG in Best Practices, Branding, Color, Consulting, Corporate Identity, Design, Graphics, Guidelines, Logo Design, Marketing, Standards, Typography

Approaches to branding multiple products or services under one business

I have a client that needs graphic design work for multiple brands, and wants all of their brands in a single portfolio. Their services generally target the same audience, and the audience can choose one or more services; these services do not compete with one another. My client seeks consistency in the way they portray the different services in digital and print media. 

If your organization manages more than one brand, you have different options to manage them. Your branding strategy–key to your marketing strategy–depends on your target audience and customers. 

Whether you already have several brands, or you anticipate new product or service lines, you can find a structure that works for your organization.

Individual Brands or Parent and Sub-Brands

Two options for managing multiple brands are:

  1. a multi-brand strategy with individual brands for each product/service, and
  2. a single, parent brand with multiple sub-brands. 

If the products or services aim to fulfill different purposes or have different visions, you may want to to separate your brands. If your products or services reflect an overarching vision or purpose, you might choose the parent/sub-brand option.

Your company’s vision, values, customers, and market position can guide your choice of options. 

  • Who are your customer segments?
  • Do your products/services target vastly different segments?
  • Do these differing segments want to be associated with one another?
  • If you plan a new product/service, does it reflect your existing brand’s deeper purpose and vision, or does it reflect a new purpose and vision?

Examples

Multi-brand strategy

Procter & Gamble uses a multi-brand strategy, with individual brands for each product line. Some of their product lines include Tide, Gain, Crest, Pampers, Bounty, Swiffer, Oral B, and Gillette. Some of their products compete with each other, for example, Tide and Gain, but Procter & Gamble gets a piece of the laundry market share from both products, aimed at different consumers. 

Parent brand and sub-brand strategy

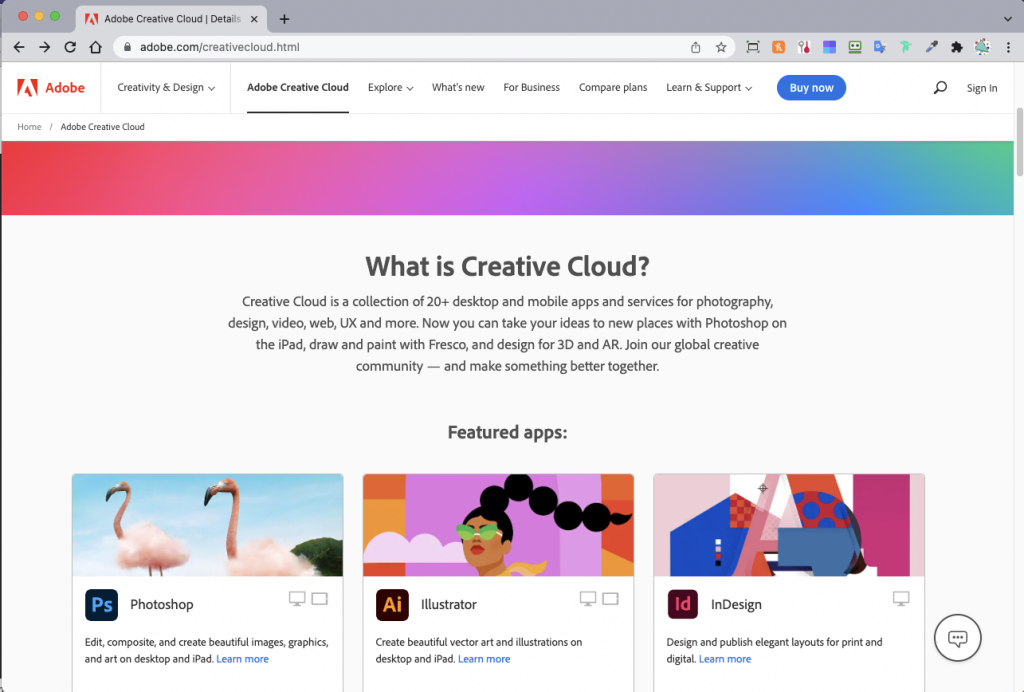
Adobe has multiple products under a single brand. Creative Cloud, their main product line, includes Adobe Acrobat, Adobe Acrobat Reader, Adobe Photoshop, Adobe Illustrator, Adobe Lightroom, and more. Adobe markets Creative Cloud to very different audiences, and allows individual users and teams to select the apps that best meet their graphic design, photography, and other creative needs. 


Adobe Creative Cloud includes over 20 desktop and mobile apps

In closing, if your organization manages several brands, make sure that you have a clear strategy. And make sure to document this strategy and also provide clear brand guidelines so you can communicate consistently and clearly with your target audience. 

References

Pruitt, Jeff, Approaches to Branding Multiple Brands, Inc. Magazine, accessed 02 November 2021.

Pruitt, Jeff, 4 Branding Structures When Multiple Products and Services are Involved, Inc. Magazine, accessed 02 November 2021.

Dearth, Brian, Multi-Brand Strategy: 5 Top Trends in 2021, Vaimo, accessed 14 January 2022.

Adobe Creative Cloud, accessed 14 January 2022. 

Procter & Gamble Brands, accessed 14 January 2022. 

Posted by JBG in Best Practices, Branding, Corporate Identity, Guidelines, Logo Design, Marketing, Standards, Typography

A less messy approach to using Adobe Lightroom Classic (LrC)

It’s easy to make a mess of thousands of digital photos, just like cramming a bunch of photo prints and negatives into shoeboxes. Without labeling the shoeboxes and photo print envelopes, there’s no way to quickly find a particular photo. Wouldn’t it be nice to be able to organize your digital photos and find what you need when you need it?

I am midway through a fine arts photography class that starts with analog (black & white film) and ends with digital photography. I thought it was time to really learn how to use Adobe Lightroom Classic to my advantage.  With fewer than 2000 digital images taken since I purchased my digital SLR (DSLR), it’s about time to get organized… before the number grows too large to manage!

Today I watched a video presented by Tim Grey on the B&H Photo Event Space called, “Avoiding a Mess in Lightroom Classic.” My thoughts on the video? Tim’s advice is great for mid-level to professional photographers who have LOTS of digital photos. Some of the advice is probably not as helpful for students who will take 1-2 photo classes and not catalog their photos again. 

This post applies to features found in the Classic software. It focuses on organizing your photos, not photo editing capabilities. Read on to learn a few secrets of managing LrC, or as I call it, a Less Messy Approach.

What is Lightroom Classic?

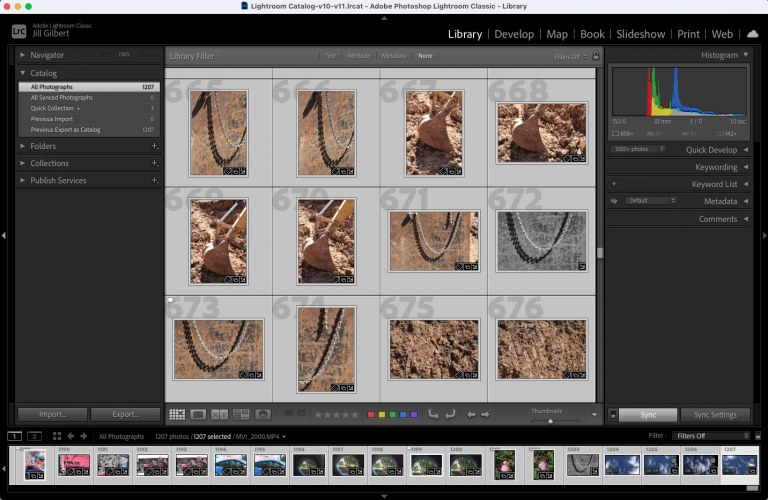
Adobe offers two versions of Lightroom; the newer, Cloud-based known as Lightroom, and the original, desktop software, now known as Lightroom Classic (see screenshot, right). 

Lightroom Classic is more powerful than Lightroom, and geared more to professional photographers. Learn more about the two different products on the Adobe website here

Screen Shot of Lightroom Classic, Adobe Creative Cloud 2021

A Less Messy Approach to Using Adobe Lightroom Classic

Tim Grey is a leading educator in digital photography and imaging. Tim teaches through workshops, seminars, and appearances at major events around the world.

His advice on using Adobe Lightroom Classic (LrC):

  • Initiate everything in LrC. This avoids problems with moved photos and renamed folders.
  • Make sure you understand how LrC works.  The LrC catalog contains information about the photos; the photos are stored separately. If you rename folders and photos on your hard drive, LrC thinks they are missing when you look for them later. 
  • Tidy up photos before using LrC. Get rid of photos you don’t plan to use. Clean up your folder structure. Then import photos. You can create, rename, and move folders after you import photos to the catalog. 
  • Use a single LrC catalog. Tim has 400,000 photos in his catalog, so it takes a bit longer to load LrC, but he does not see performance issues with LrC.
  • Consolidate photo storage. Use a single hard drive or external hard drive as the top level for photo storage. This makes it easier to locate a photo later. 
  • Avoid date-based folders. You may not remember when you took a photo, so easier to label folder with who, what, or where photos taken. You can use dates if needed, just not as the first part of the folder name.
  • Create a meaningful and consistent folder structure. Something that works for you. Keep folder structure relatively flat.
  • Make full use of the import feature. Don’t download photos to your hard drive first. Copy photos from your media card and add photos already on your computer to the catalog. Use file handling, file renaming, apply during import, and destination settings.
  • Back up your catalog. Remember, the catalog is separate from your photos. Backup feature allows you to test the integrity of the catalog and optimize it after backup.
  • Back up your photos. Photos are separate from the catalog. Tim uses GoodSync; you might use OneDrive, iCloud, DropBox, Google Drive, etc.
  • Create a consistent image review workflow.
  • Get familiar with filters. In the Library tab, in Grid mode [G], use the backslash [\] to access the filter bar above the image thumbnails.
  • Preserve metadata. Use Catalog Settings and Editing capabilities. You should include develop settings in metadata inside your image files. This way, you maintain the metadata if your LrC catalog gets corrupted.
Posted by JBG in Best Practices, Guidelines